Hexo Quick Start
Hexo is a fast, simple & powerful blog framework powered by Node.js.

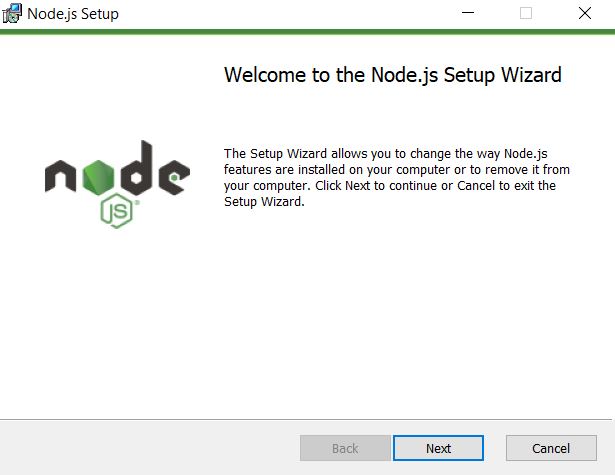
1、install NPM
First of all , we need to download NODE and install node
Then , check npm on cmd
1 | $ npm -v |

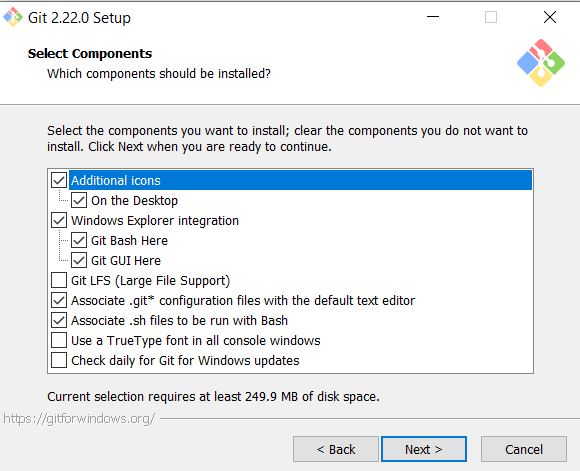
2、install git
Second , install git
3、install HEXO
Install hexo on cmd
1 | $ npm install hexo-cli -g |
Check hexo on cmd : $ hexo v
1 | $ hexo v |

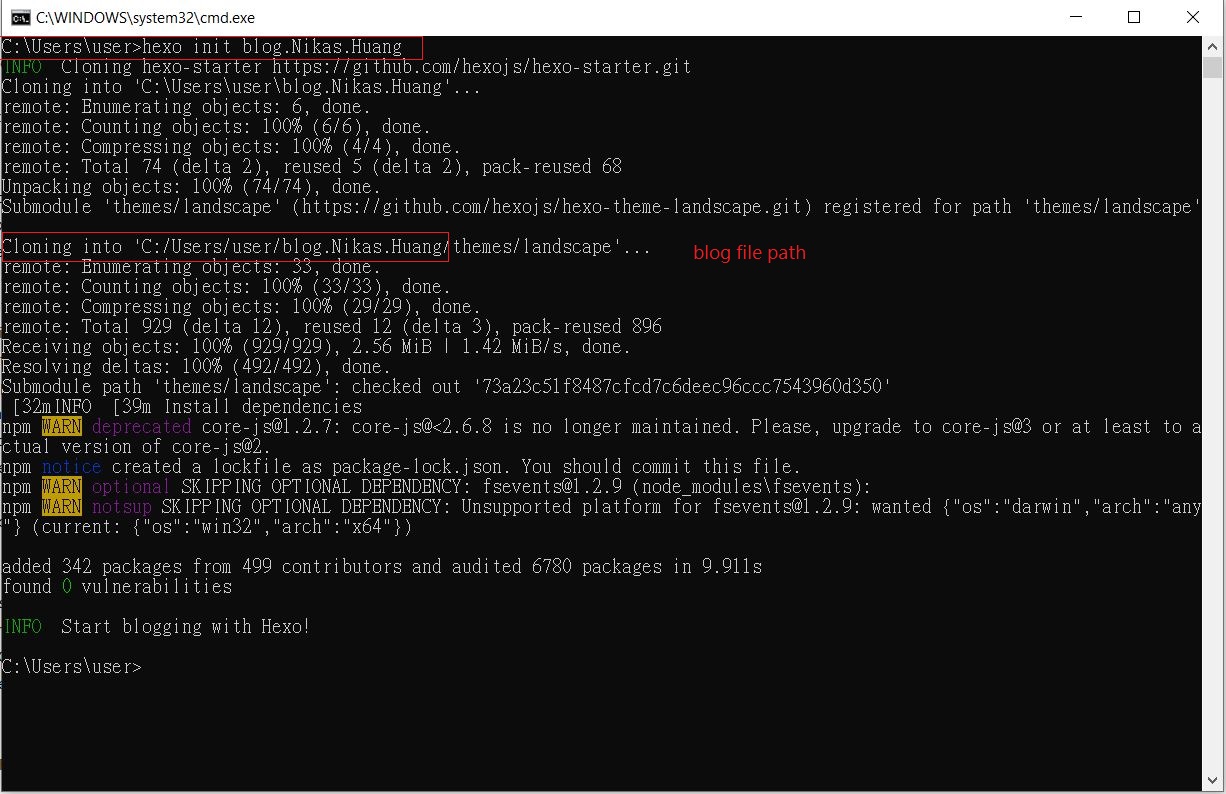
Create the blog file
1 | $ hexo init blog.Niklas.Huang (blog.Niklas.Huang is my user name) |
cd to blog path
1 | $ cd blog.Niklas.Huang |
Load Kit
1 | $ npm install |
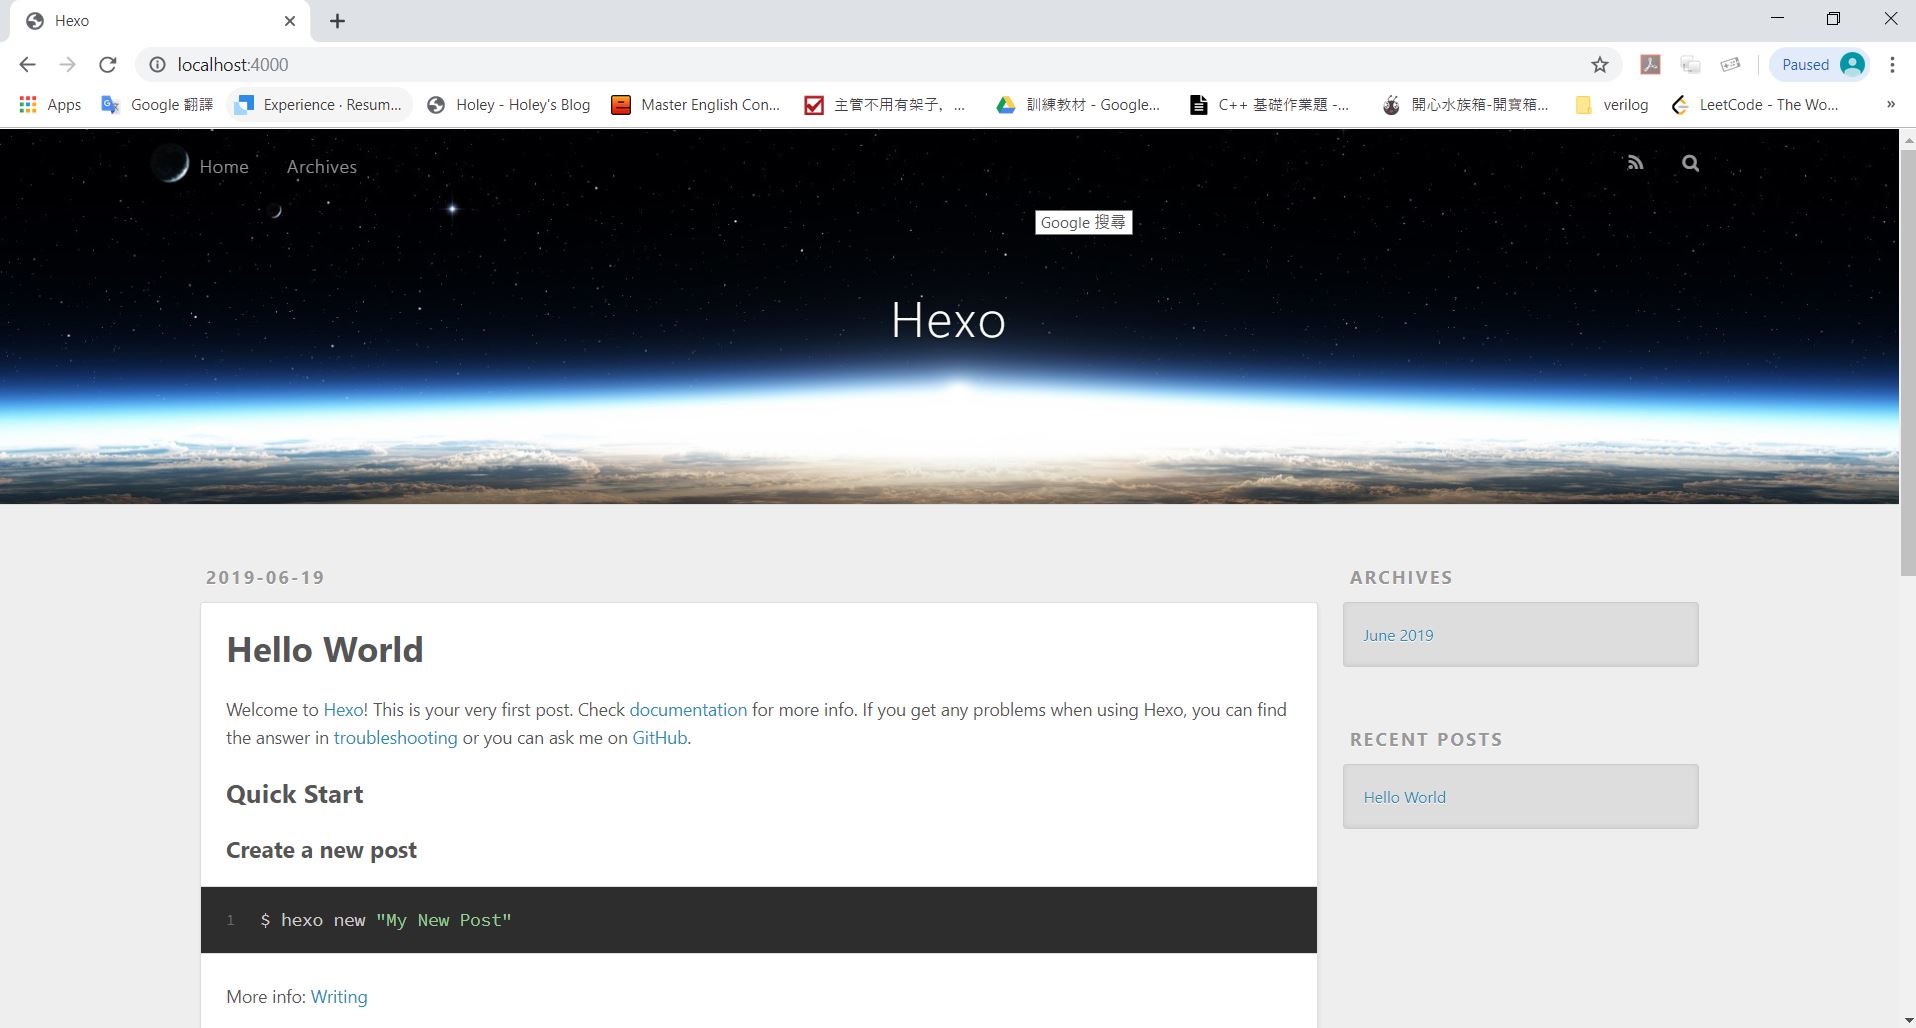
Check your blog on local website
1 | $ hexo server |
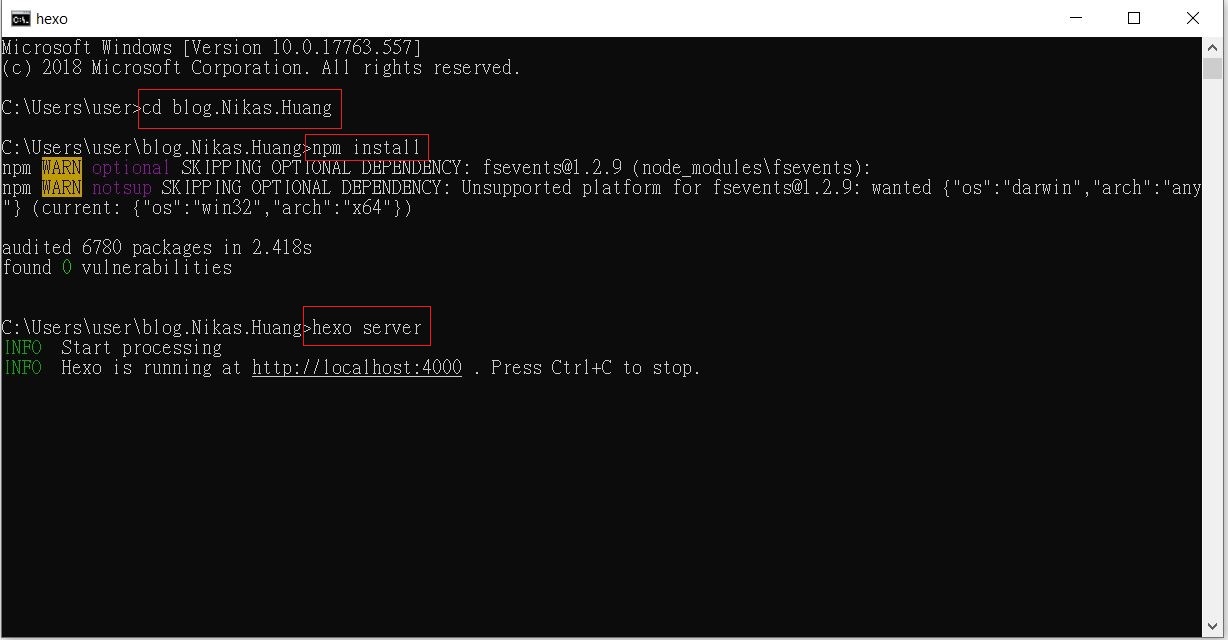
Check localhost on http://localhost:4000
4、set HEXO
Change theme -> Download theme on github
Unzip and move to “ blog/themes “ , then rename to “Next”

Edit blog _config.yml
Change themes -> “theme: landscape” change to “theme: Next”
Add author information -> title, subtitle, description, author
Edit theme _config.yml
Open social links -> (find # Social links) uncommand social and what you want to use social media
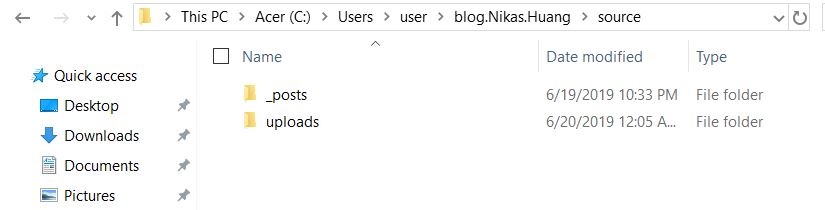
Move the profile picture -> copy photo to source/uploads/
Add the profile picture -> “ #avatar: /images/avatar.gif “ change to “ avatar: /uploads/xxxx.jpg “
About me page -> uncommand about: /about ,then edit source/about/index.md
1 | $ hexo new page "about" |
Classified article tag -> uncommand tags: /tags/ || tags,
then edit source/tags/index.md -> title: All tags , type: “tags”
1 | $ hexo new page "tags" |
Then you can add tags on every posts
Clear last tags
1 | $ hexo clean |
Restart blog
1 | $ hexo server |
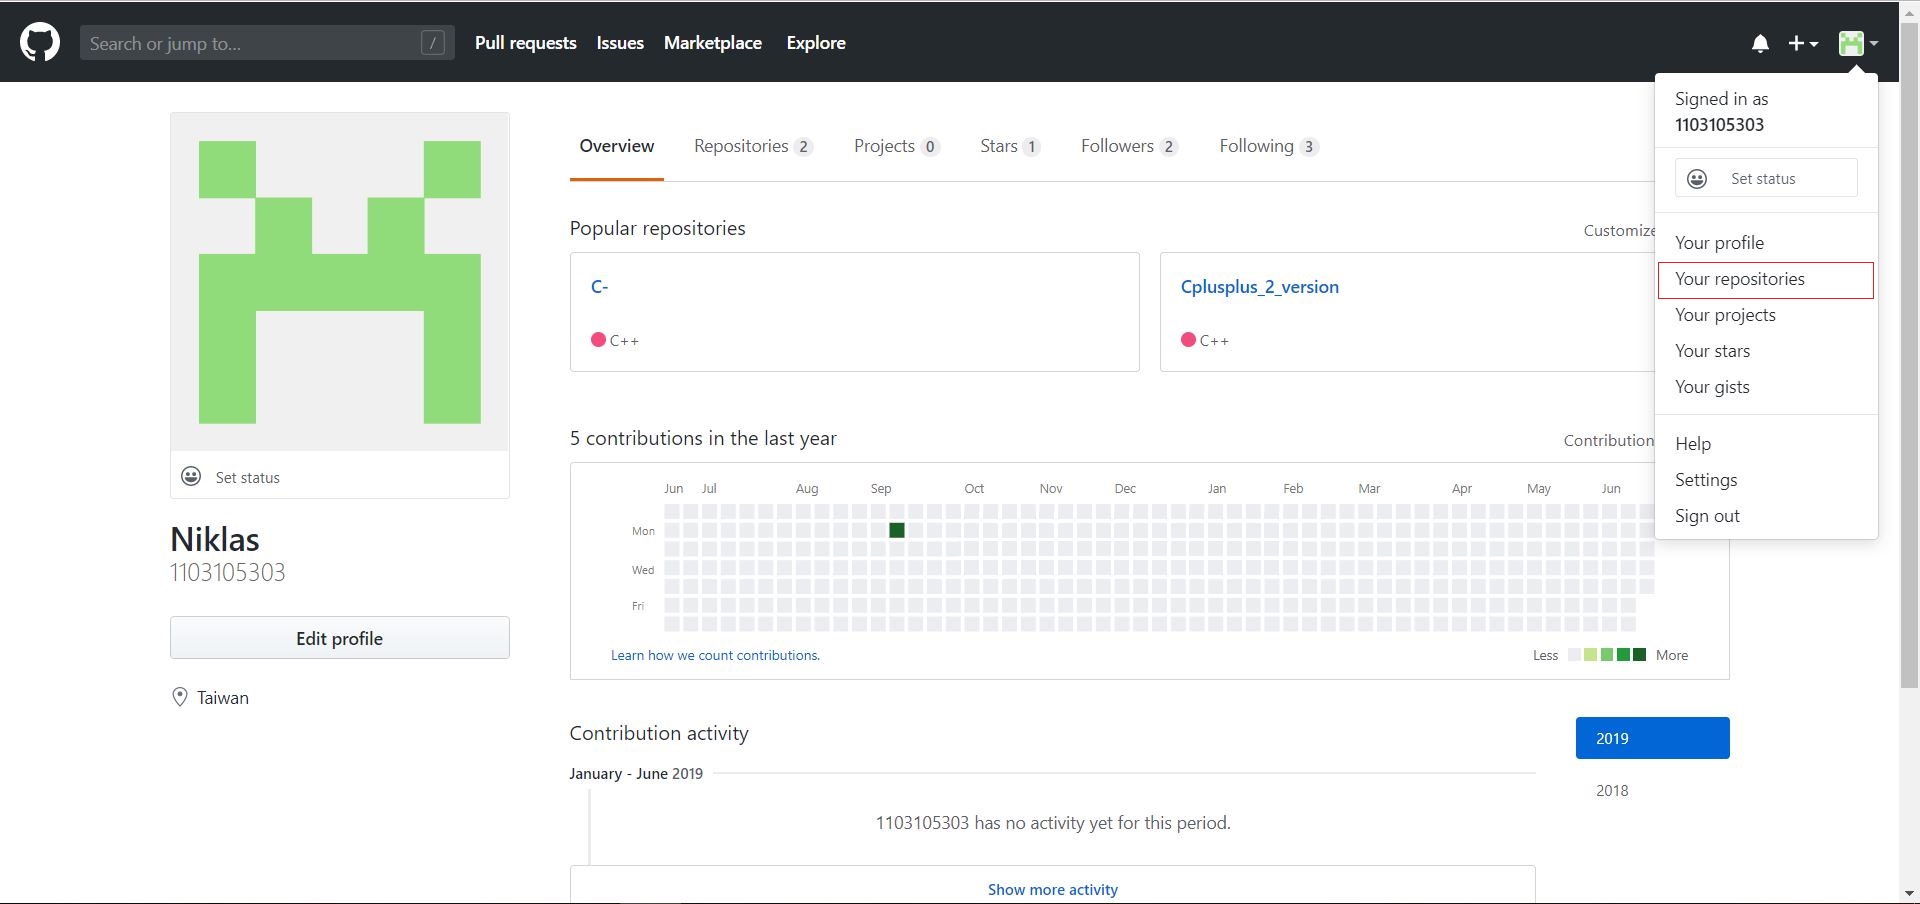
5、Post HEXO on github
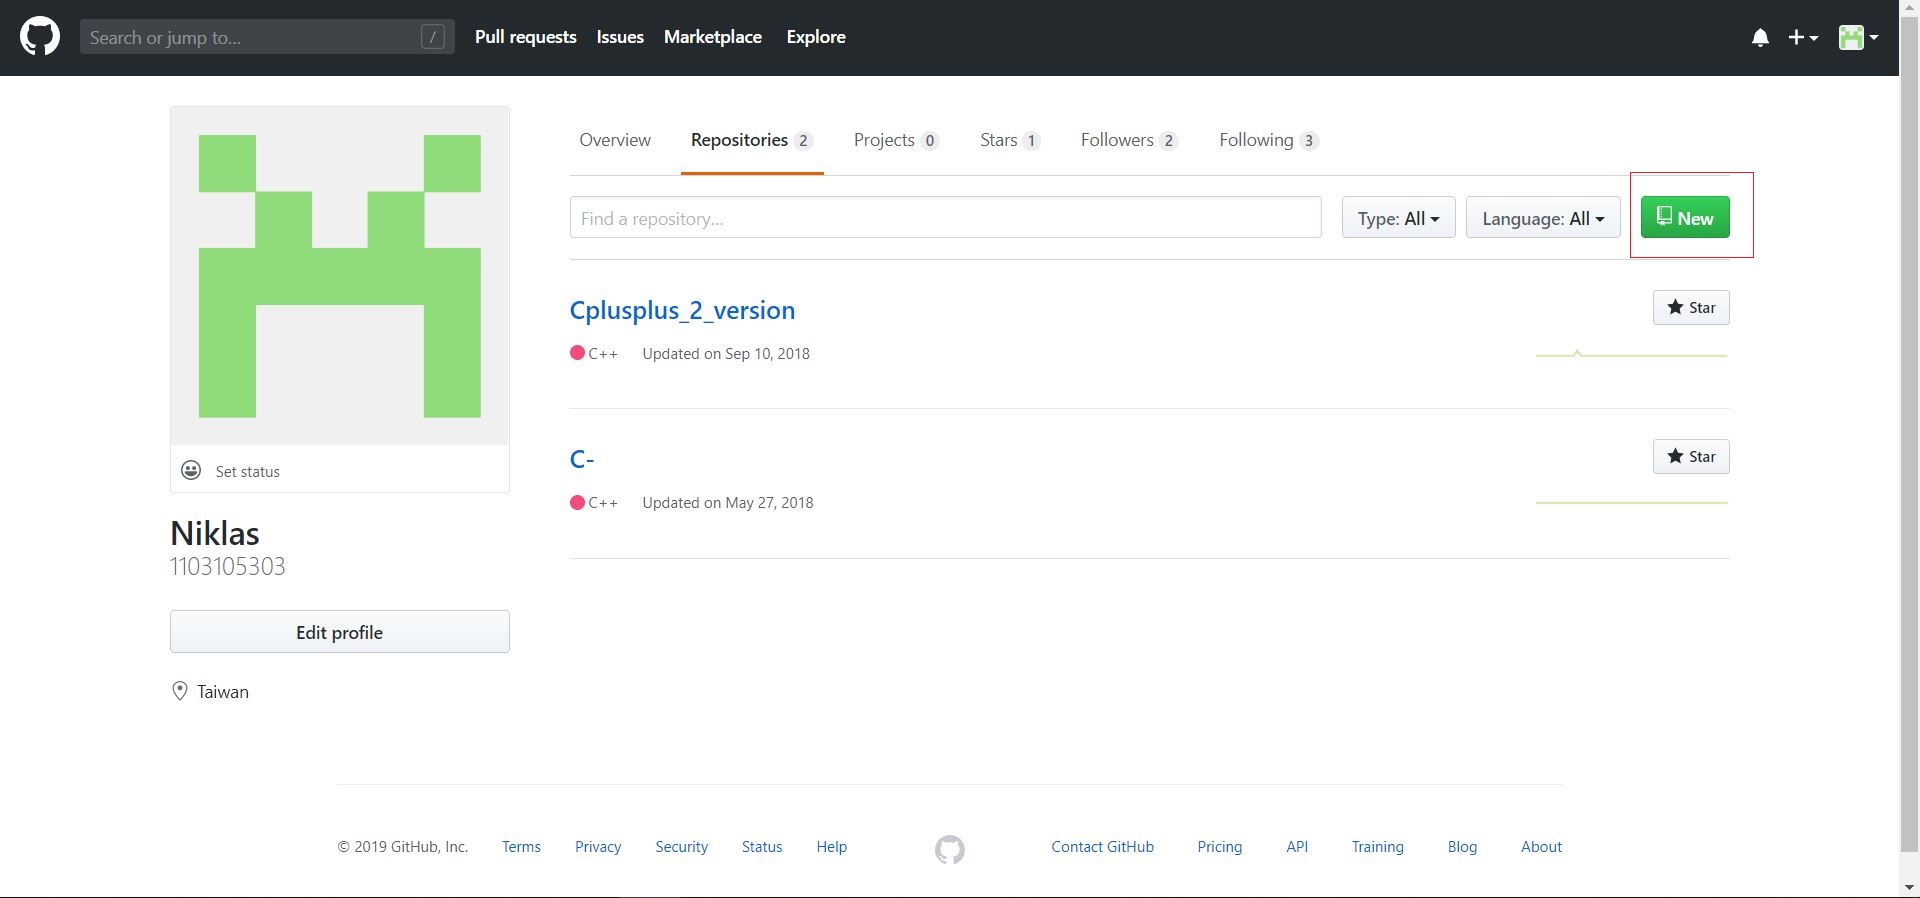
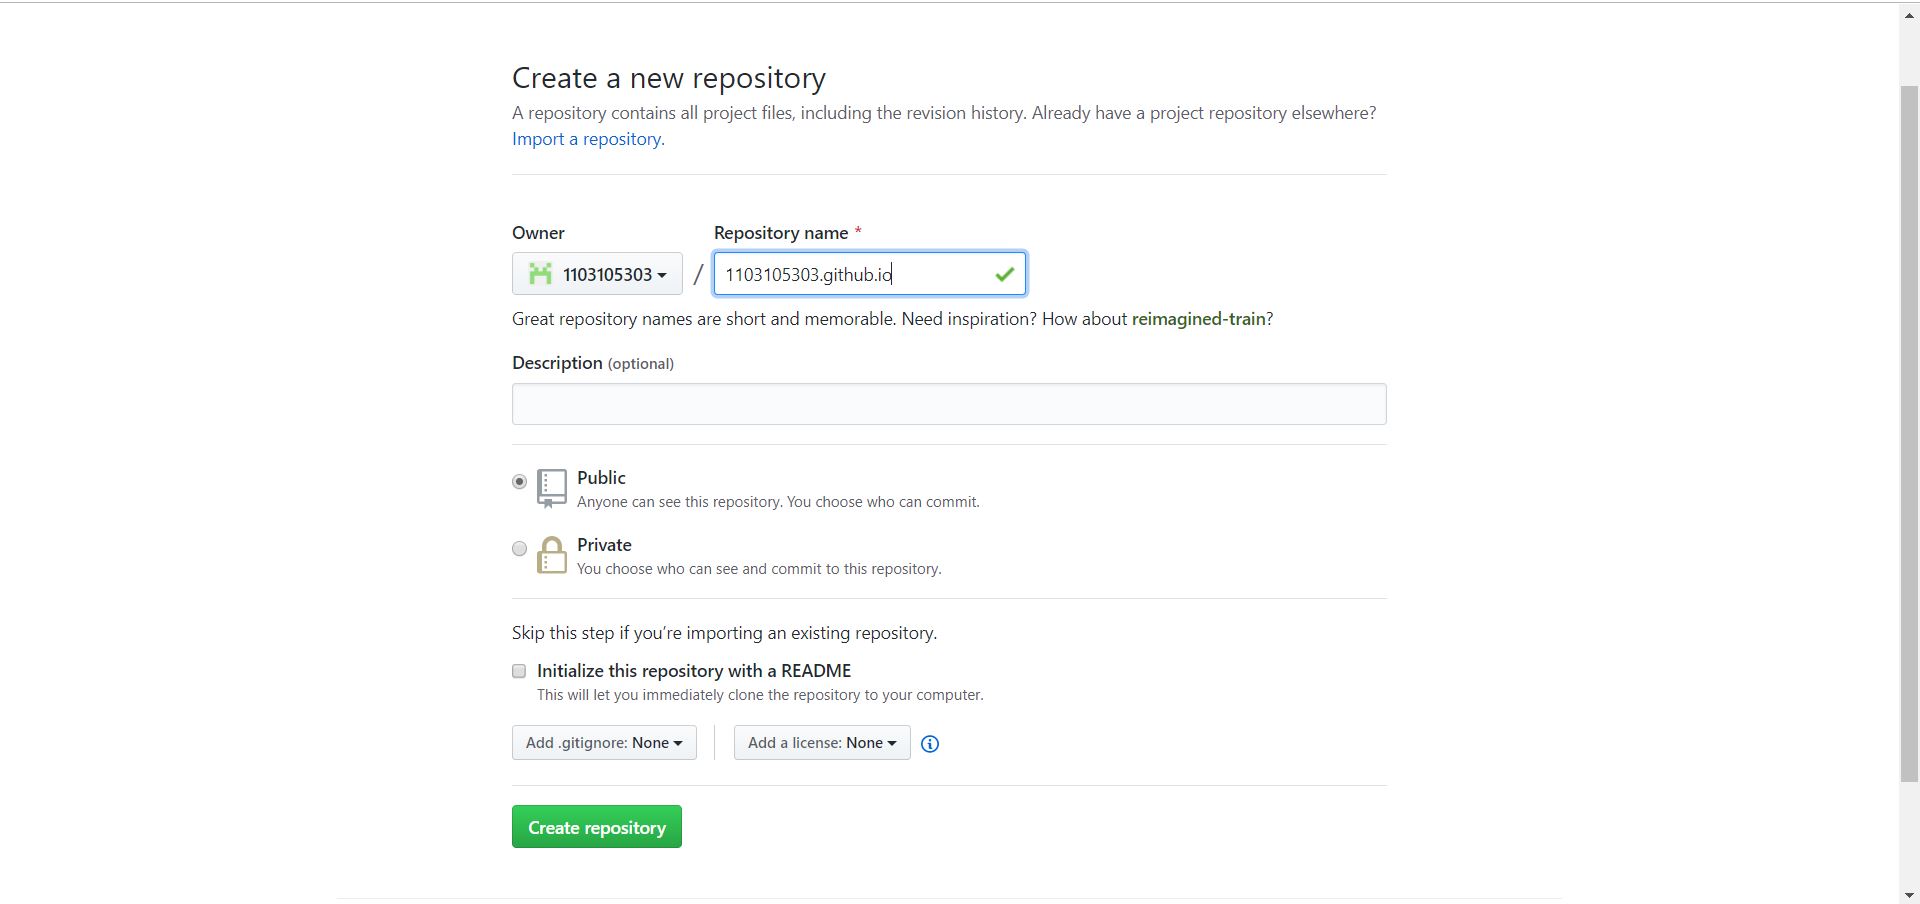
At the beginning of we need the github accountCreate a github repository, such as my github name is 1103105303, then my website is 1103105303.github.io

Edit blog _config.yml -> (find deploy) deploy:
type: git
repo: (paste your website link)
branch: master
Install git kit
1 | $ npm add hexo-deployer-git |
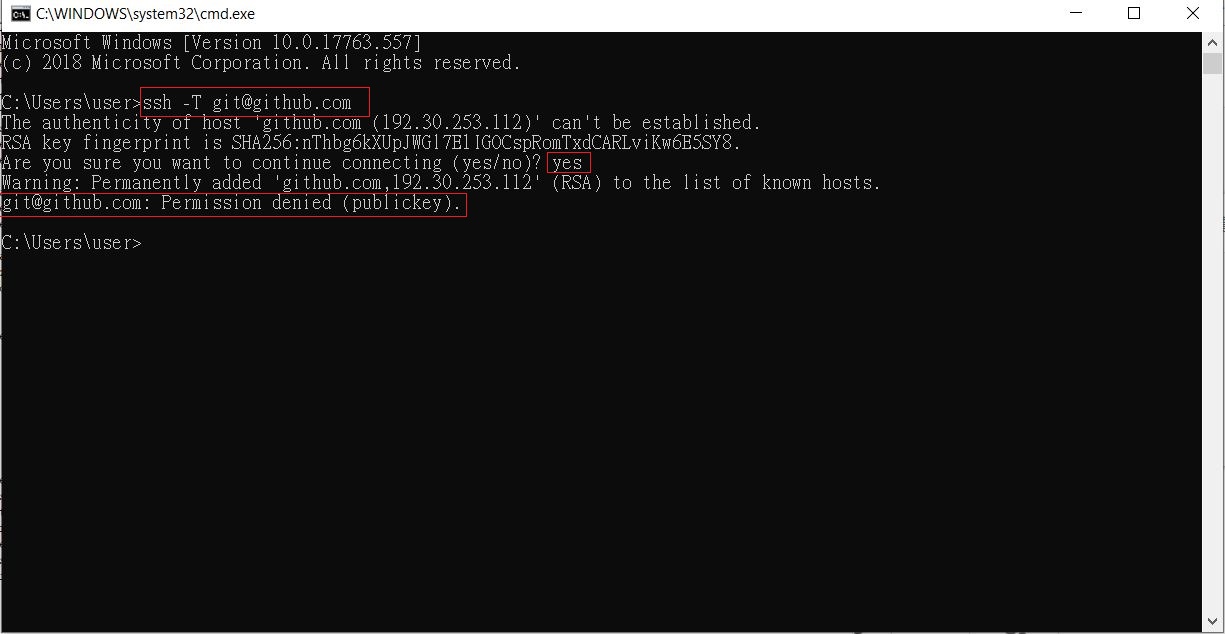
Check link
If it show “git@github.com : Permission denied(publickey)”,
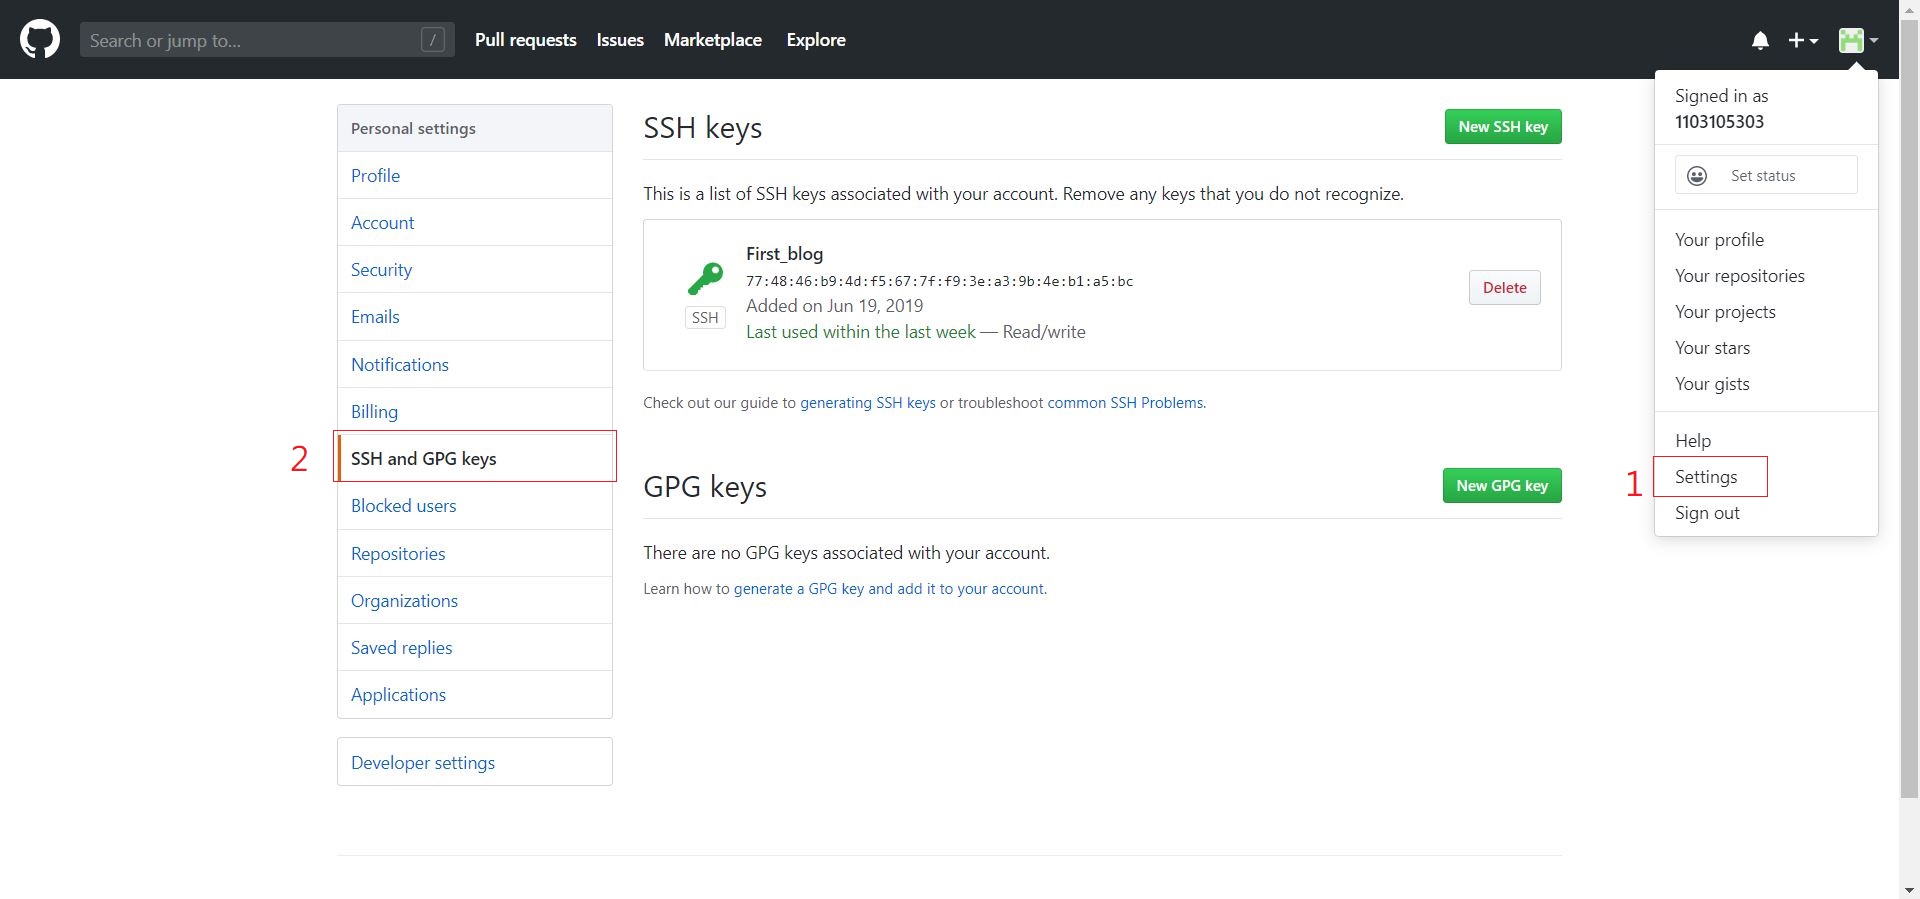
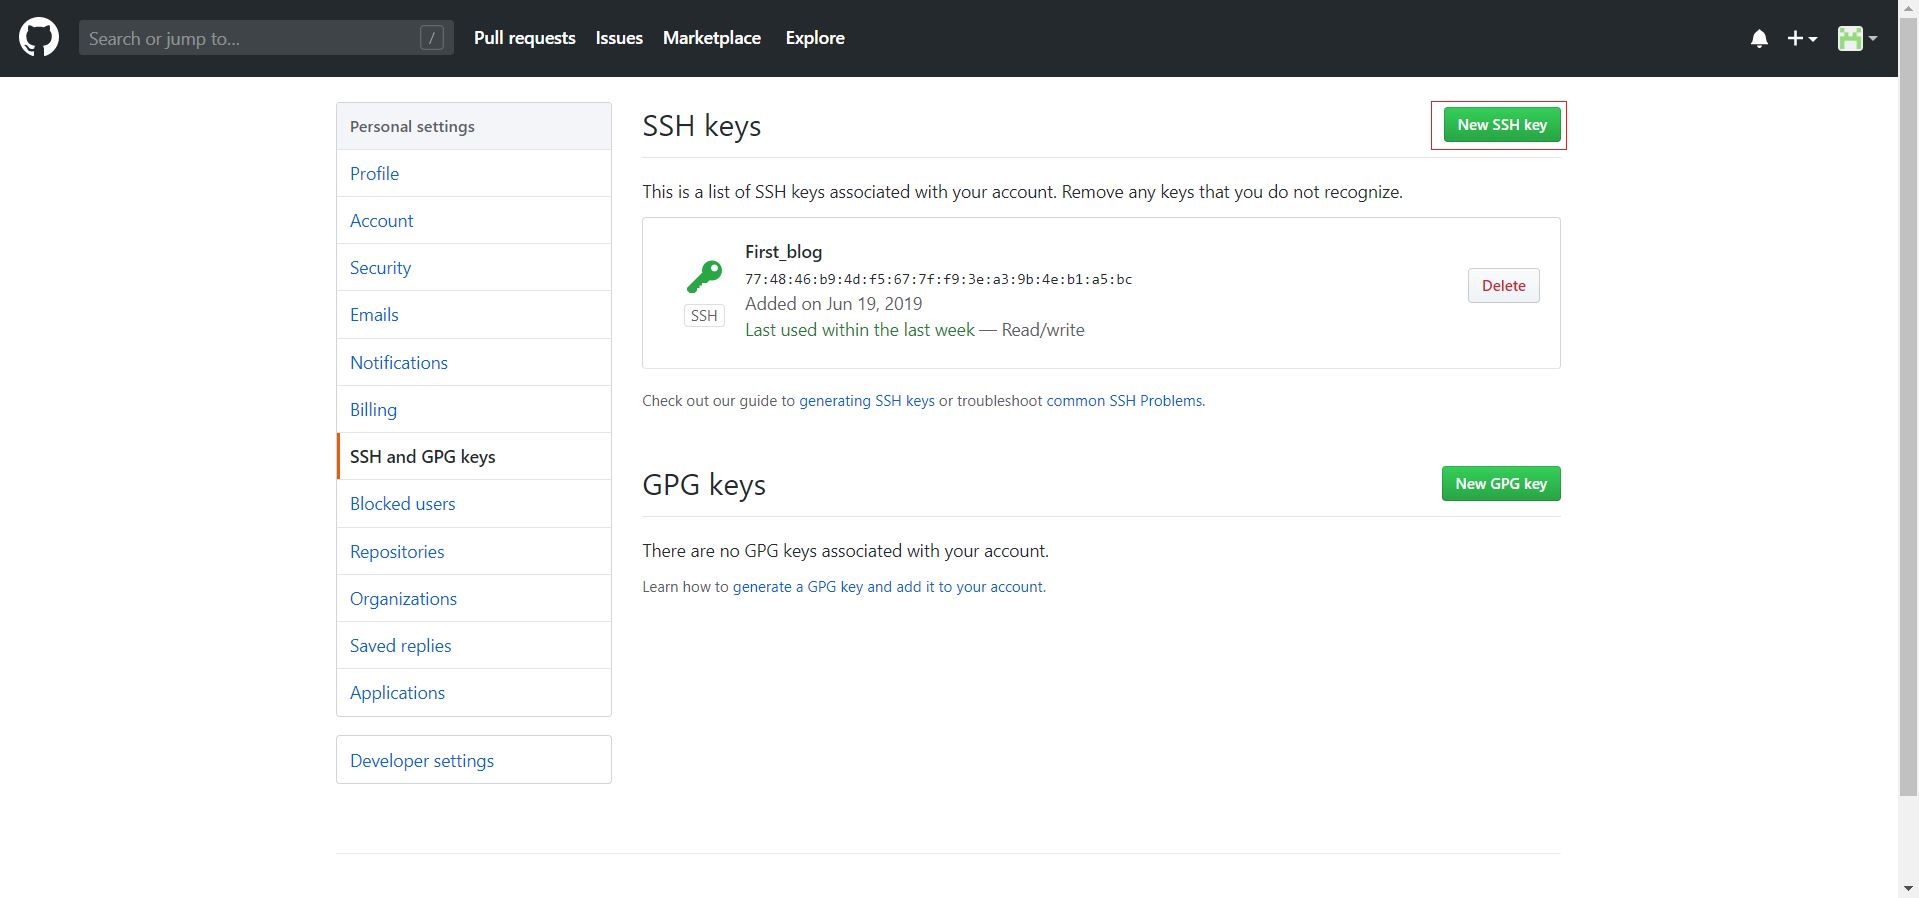
we need set ssh keys on github
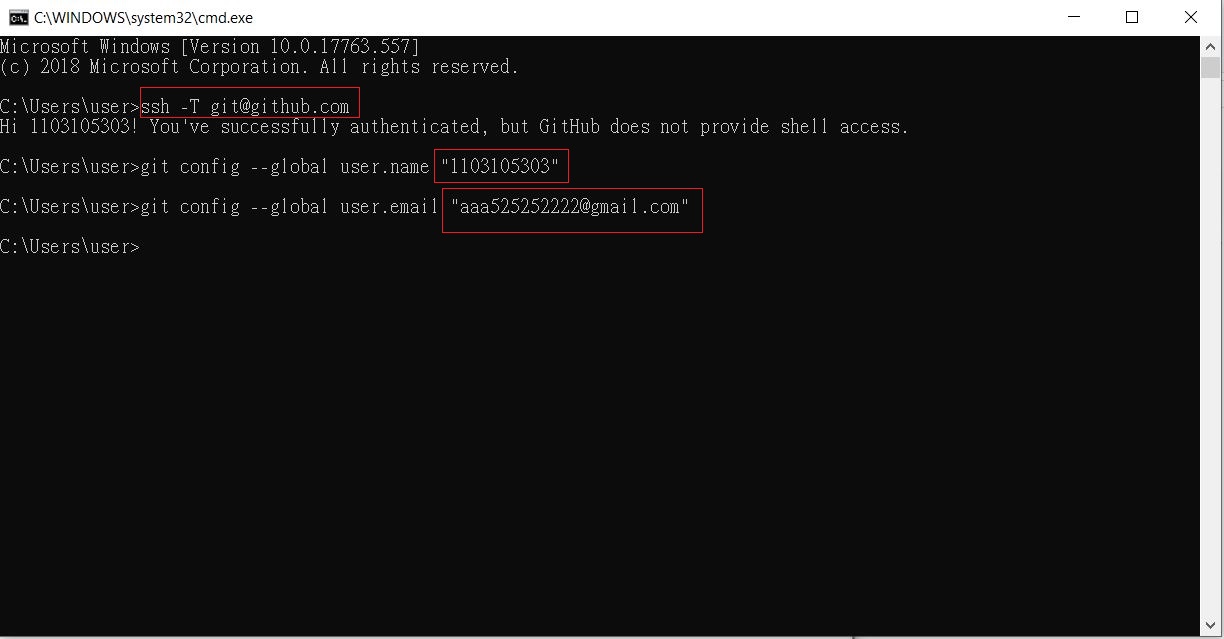
1 | $ ssh -T git@github.com |
Find the ssh keys
1 | $ ssh-keygen -t rsa -C "aaa525252222@gmail.com" (aaa525252222@gmail.com is my email) |

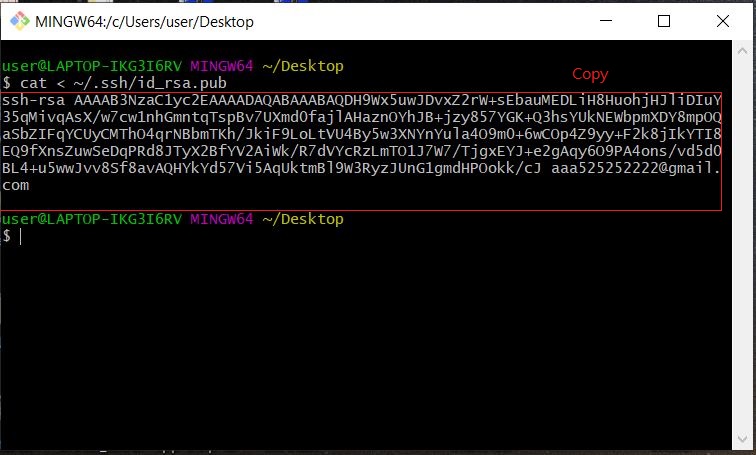
Then open git bash
1 | $ cat < ~/.ssh/id_rsa.pub |

Check again
If successfully , then setting account information :
1 | $ git config --global user.name "1103105303" (your account) |
Upload on github
1 | $ hexo deploy |
Update github
1 | $ hexo clean && hexo generate && hexo d |
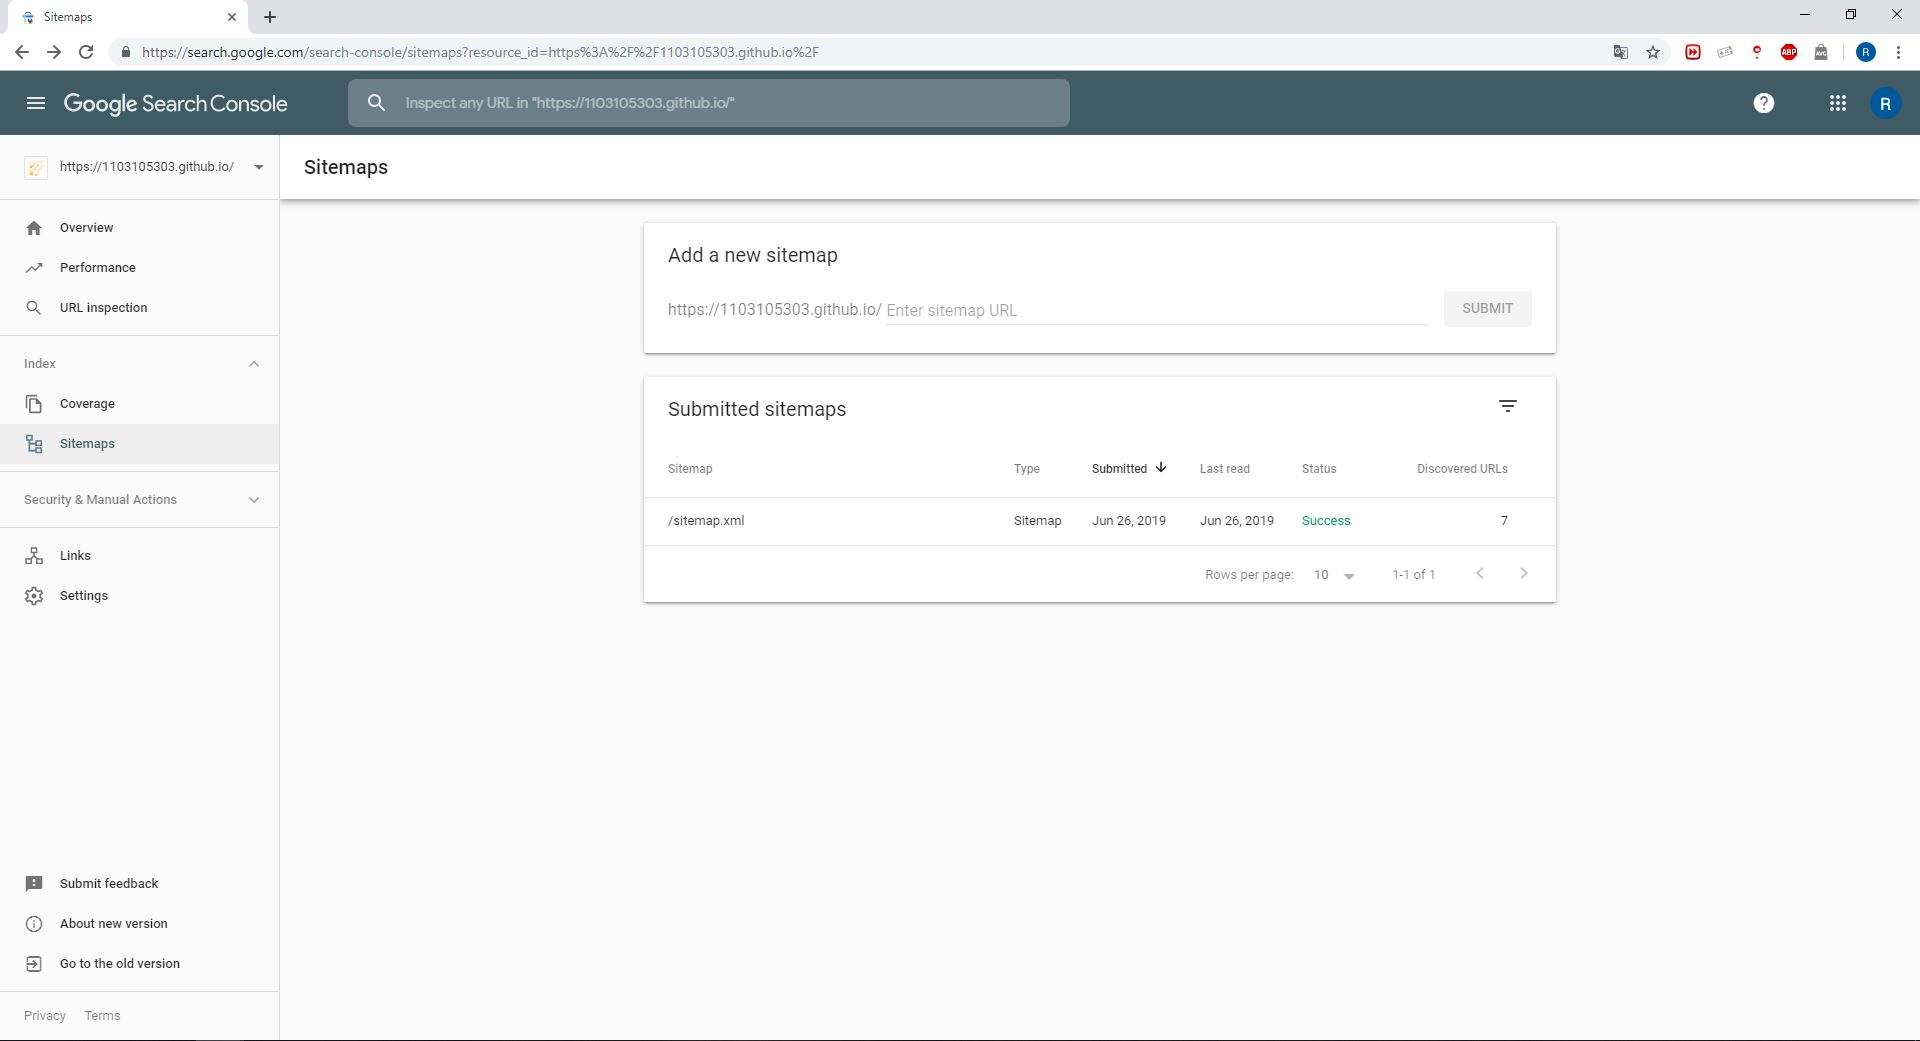
6、Create sitemap
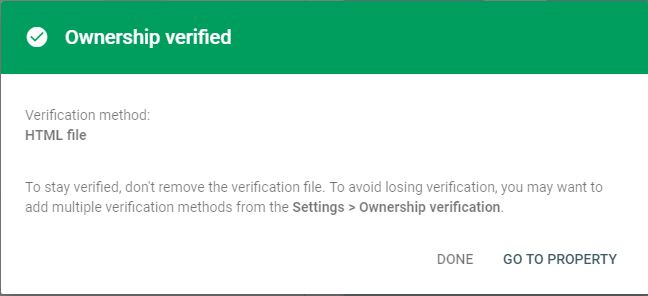
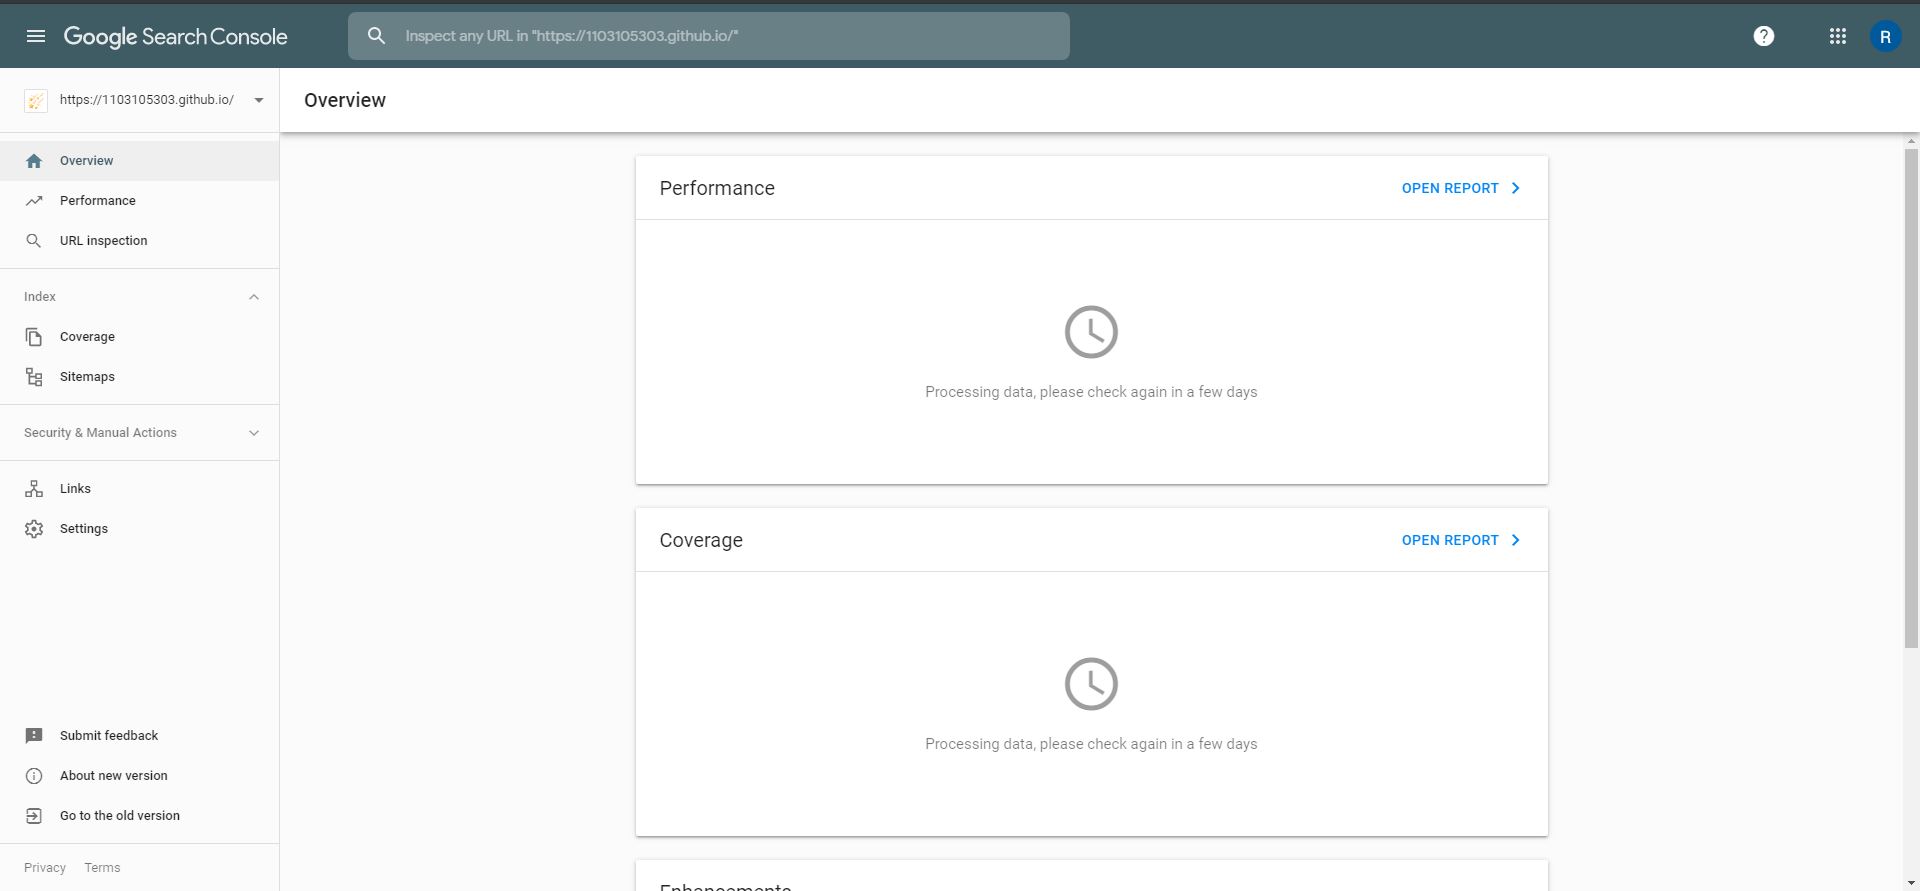
Google Search Console


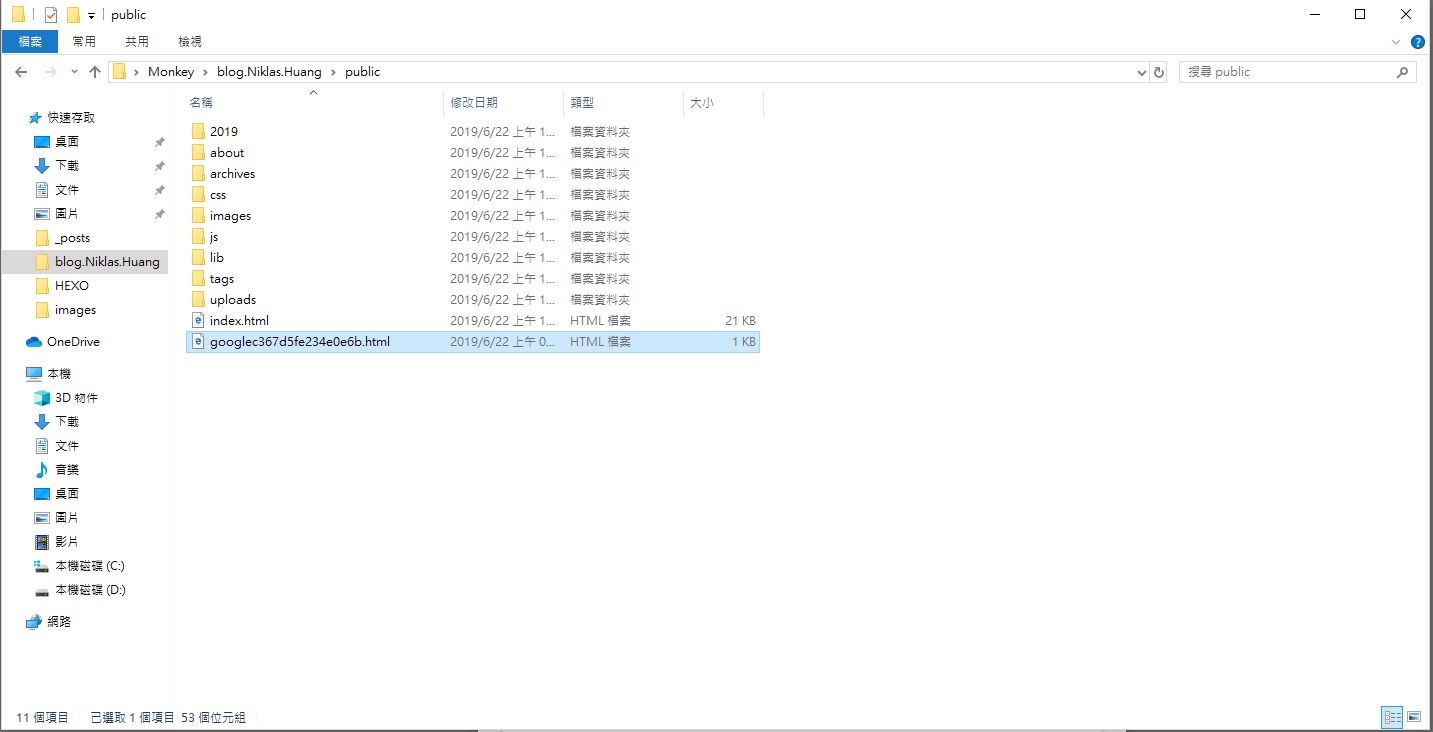
Download google HTML
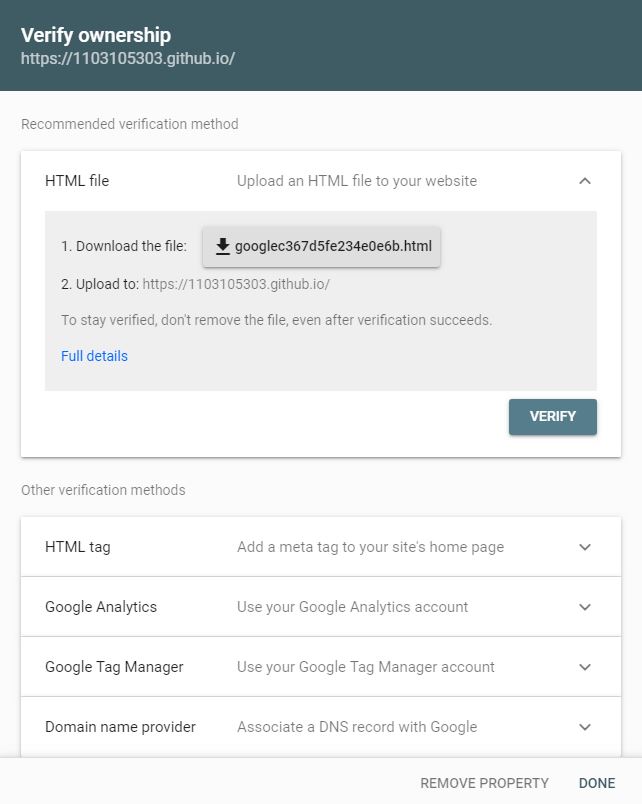
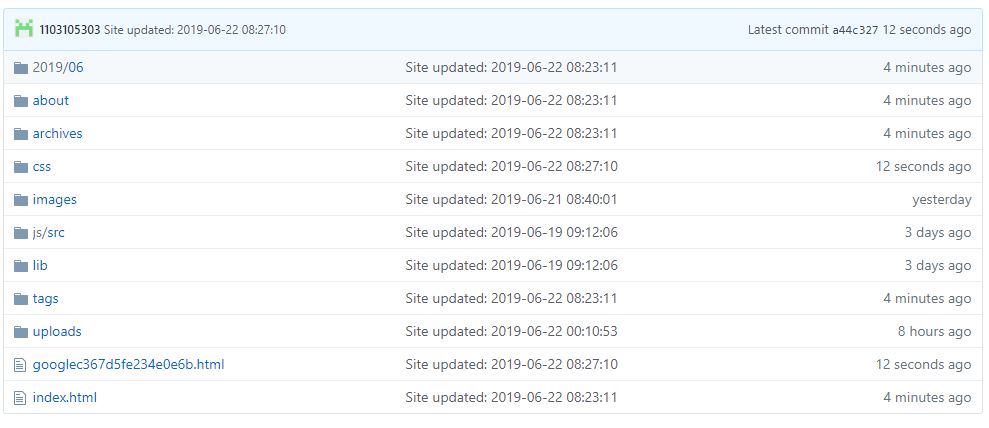
Upload it on github
1 | $ cd "Your blog path" |
Install hexo sitmap kit
1 | $ npm install hexo-generator-sitemap --save |
Edit blog _config.yml
1 | url: https://1103105303.github.io/ (your blog link) |
Add blog _config.yml
1 | #Sitemap |
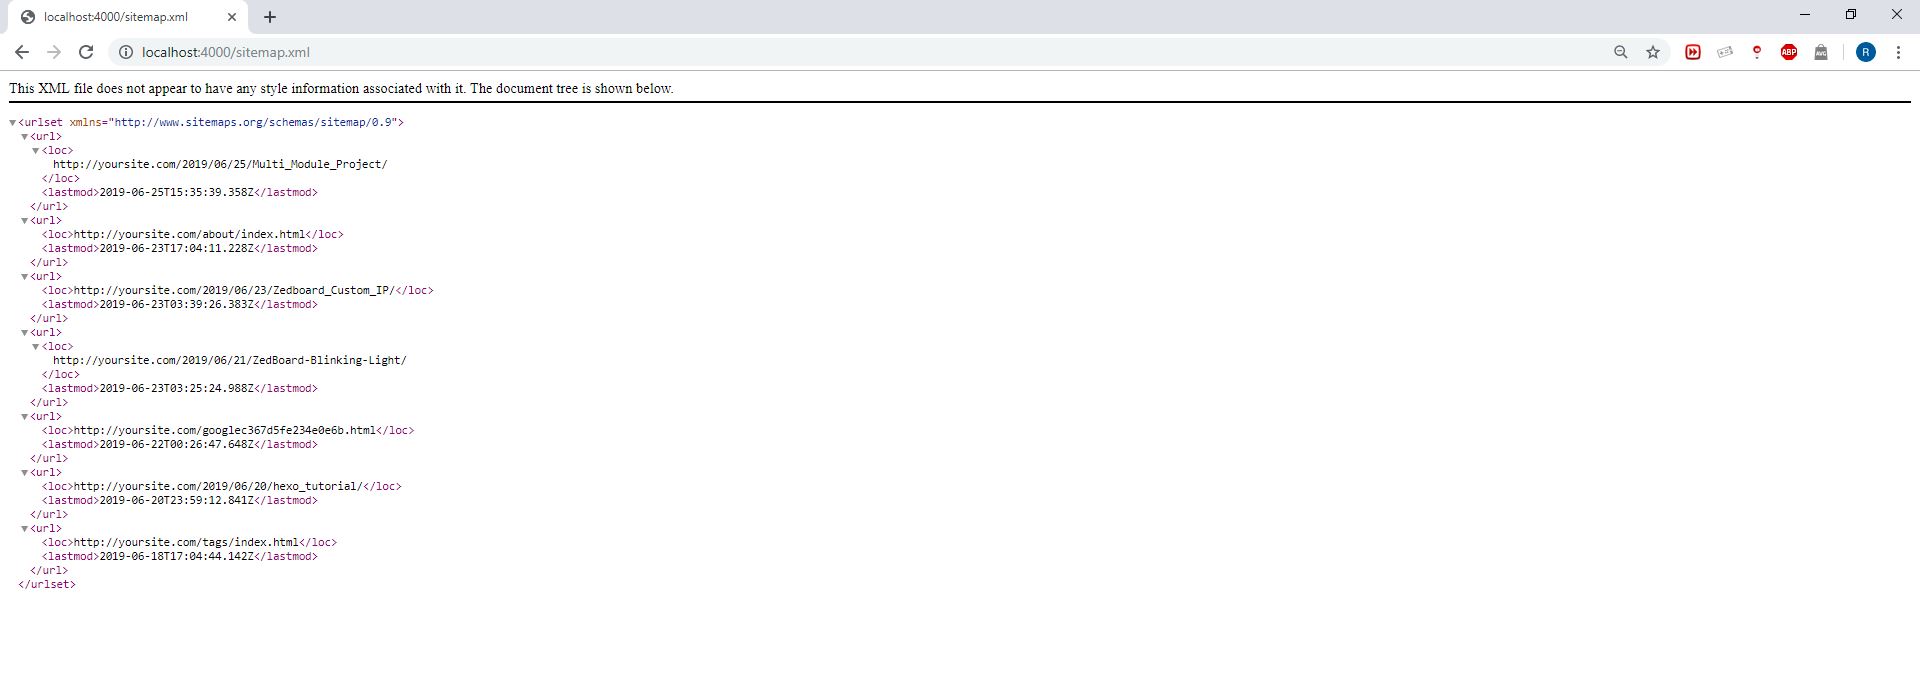
upload and check it in local address
1 | $ hexo s |
add sitmap in Google Search Console
1 | $ hexo generate && hexo d |